You’ve done it! You’ve made your first game, a clone of Pong. You went through the architecture of the codebase in part 1, then you coded the game up in part 2. Now you have a game!
It’s a fun game, but it’s just like every other version of Pong, right? There’s also some things that need to be improved, the animation is choppy for starters. The menu is a bit janky. And we completely ommitted music and sound.
In this final part of the series, I’m going to take you through these improvements, and point you in the right direction to customize your version of Pong!
Animation Improvements
The simplest thing for us to do first is improve the animation. If you execute your version of Pong from the previous article, and pay attention, you’ll notice that the ball and paddles jump from one position to the next at a set rate.
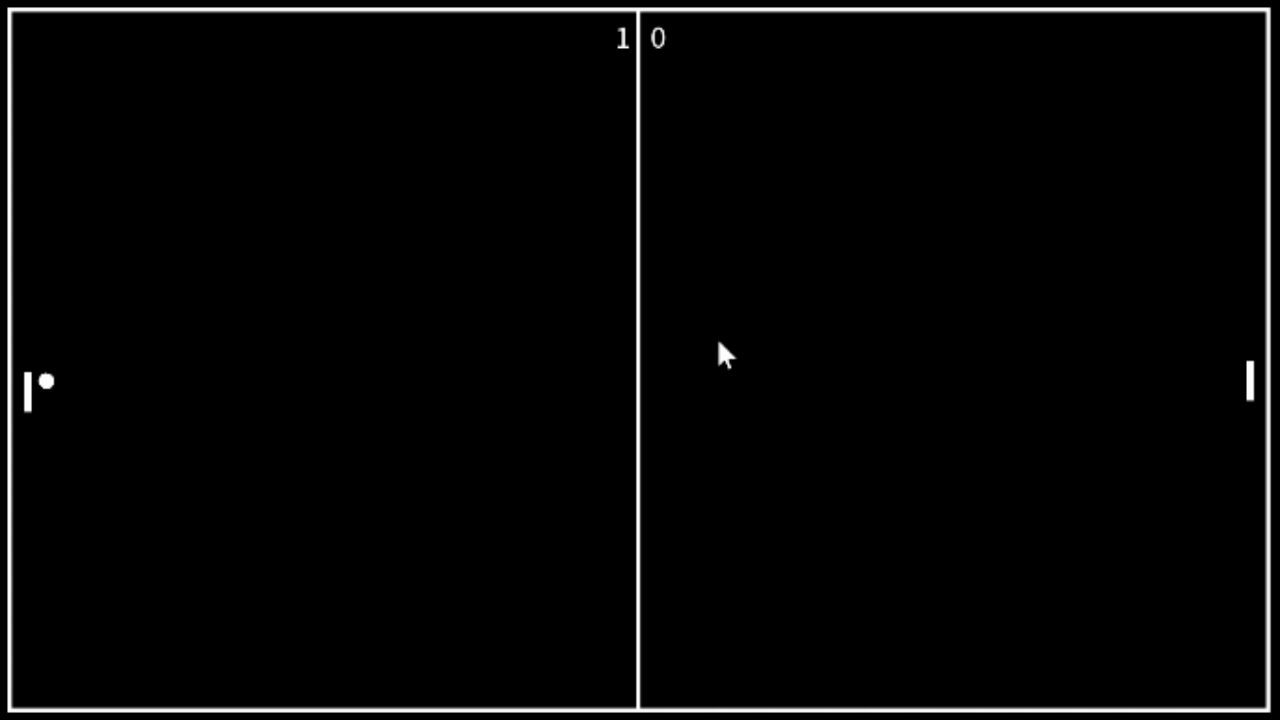
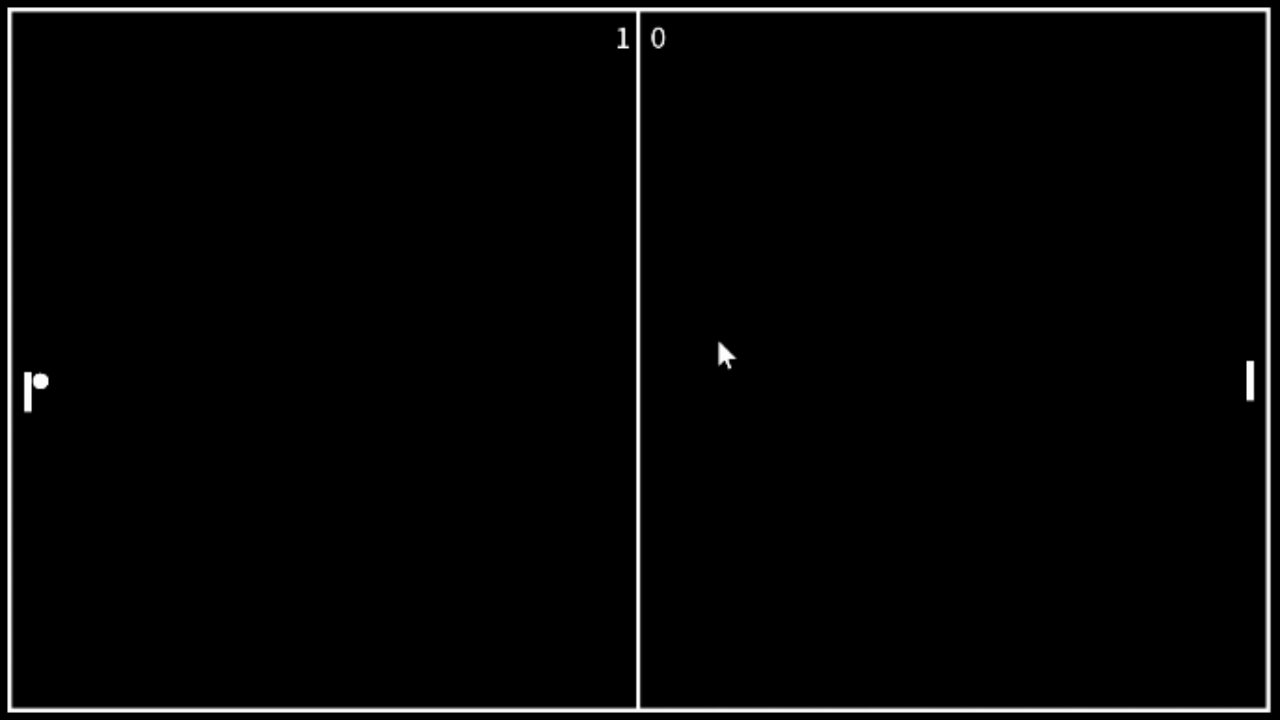
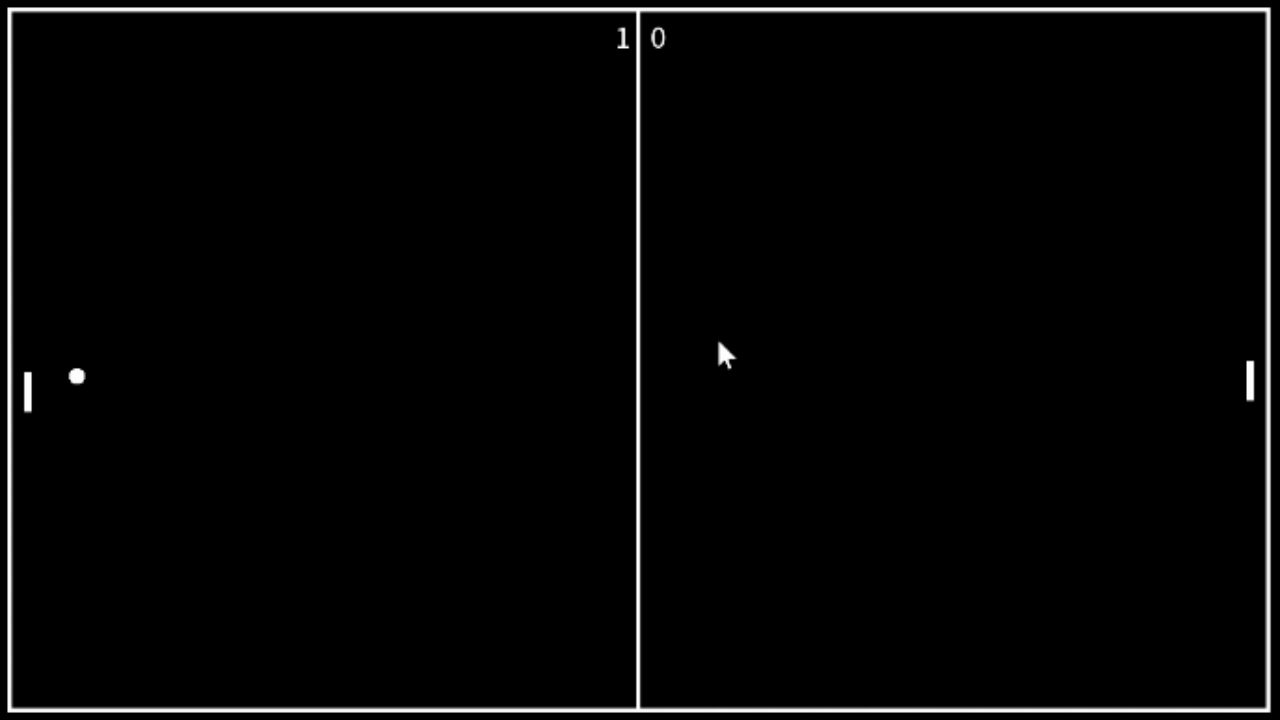
It’s clear that this is because we set the game-world to have a static update rate of once every 33 milliseconds. As discussed previously, this is the correct way to do things. But the side-effect is that because our eyes see things faster than once every 33ms, the animation looks like it stops at each position (stops for 33ms) before suddenly appearing at the next spot:
Our game displays several of the same frame, because as far as the renderer knows, the ball hasn’t changed position. It’s only updated every 33ms.
We can however extrapolate a position for the ball, based on it’s current position and velocity. We know it’s current position is at, for example, {10,12}, and we also know that it’s velocity is currently {320,421} (meaning it will update by it’s position by 320 pixels in the horiztonal direction and 421 vertically every 1000ms).
Now, if exactly 2ms have passed since we drew the above hypothetical frame, we know that the next frame should actually have the ball moved a little bit. We can work it out like this:
float amountBallMovedX = ballPosition.x + ballVelocity.x * (elapsedMilliseconds / 1000.f);Code language: C++ (cpp)This is the exact same theory we used when updating the position of the ball in the Game Update function. But we’re just going to use this new position to render the ball, not actually do any of the collision detection.
Interpolation vs Extrapolation
Some games use something called interpolation where you render the game a few 100 milliseconds or so behind the actual state of the game. You do this so that you can have a couple of frames of what the game world looks like so that you can smoothly interpolate between two known states.
What we’re doing is extrapolating because we only have one known state, and are predicting what the world would look like in n milliseconds in the future. Interpolation gives more accurate results, but is a bit more involved than what we want right now.
Many networked multiplayer games do interpolation as a preference and only extrapolate when there has been network packet loss.
Here’s the changes to the ball renderering from the GameRenderer::Render method:
sf::CircleShape ballShape;
const Vector2D& ballPosition = ball.GetPosition();
const Vector2D& ballVelocity = ball.GetVelocity();
const float& ballRadius = ball.GetRadius();
Vector2D renderPosition;
renderPosition.x = ballPosition.x + ballVelocity.x * (elapsedMilliseconds / 1000.f);
renderPosition.y = ballPosition.y + ballVelocity.y * (elapsedMilliseconds / 1000.f);
ballShape.setPosition({renderPosition.x-BALL_RADIUS,renderPosition.y-BALL_RADIUS});
ballShape.setRadius(ballRadius);
ballShape.setFillColor(sf::Color::White);
m_target->draw(ballShape);Code language: C++ (cpp)
A Better Menu
The next thing we can improve is the menu. As it stands the buttons are a little wonky, they’re not quite sized right, and to top it off we had to manually set their size. There’s a better way to handle a simple UI Button, and that’s by having it automatically set it’s size based on the amount of space the text needs, plus a little padding.
This requires that not only does the library you’re using need to be able to draw text to the screen, it also needs to tell you the rectangle size of a string of text before you draw it. Thankfully, this is something that SFML can do; and with my own experience in making 2D engines, I’d be surprised if there’s any library that can draw text but not tell you the size needed.
So, let’s remove the sizing parts of our Button class and let it do it all on it’s own. Revised code below, but there’s some subsequent changes to PongMenu‘s initialisation that I’ll let you figure out on your own.
class Button
{
public:
    typedef std::function<void(void)> CallbackFunc;

    static constexpr unsigned int FontSize = 60;
    static constexpr float Padding = 5;

    enum class STATE : std::uint_fast8_t
    {
        UP,
        DOWN,
        HOVER
    };

    Button(const std::string text, const sf::Font& font, const Vector2D position)
    :
        m_text(text, font, FontSize),
        m_positionAndSize({position.x, position.y, Padding*2, Padding*2}),
        m_colorUp(sf::Color::Black),
        m_colorDown(sf::Color::Red),
        m_colorHover(sf::Color::Yellow),
        m_backgroundColorUp(sf::Color::White),
        m_backgroundColorDown(sf::Color(200,200,200)),
        m_backgroundColorHover(sf::Color(200,200,200)),
        m_callback([](){}),
        m_state(STATE::UP)
    {
        sf::FloatRect bounds = m_text.getGlobalBounds();
        m_positionAndSize.width = bounds.width + Padding*2;
        m_positionAndSize.height = bounds.height + font.getLineSpacing(FontSize) + Padding*2;
        m_text.setPosition({position.x + Padding, position.y + Padding});
    }

    Vector2D GetPosition() const
    {
        return {m_positionAndSize.x, m_positionAndSize.y};
    }

    Vector2D GetSize() const
    {
        return {m_positionAndSize.width,m_positionAndSize.height};
    }

    void SetPosition(const Vector2D newPosition)
    {
        m_positionAndSize.x = newPosition.x;
        m_positionAndSize.y = newPosition.y;
        m_text.setPosition({newPosition.x + Padding, newPosition.y + Padding});
    }

    bool HandleInput(const Vector2D& mousePosition, const MOUSE_STATE& mouseState)
    {
        if(mousePosition.x >= m_positionAndSize.x &&
           mousePosition.x <= m_positionAndSize.x + m_positionAndSize.width &&
           mousePosition.y >= m_positionAndSize.y &&
           mousePosition.y <= m_positionAndSize.y + m_positionAndSize.height)
        {
            m_state = STATE::HOVER;
            m_text.setColor(m_colorHover);
        }
        else
        {
            m_state = STATE::UP;
            m_text.setColor(m_colorUp);
        }

        if(mouseState == MOUSE_STATE::DOWN && m_state == STATE::HOVER)
        {
            m_state = STATE::DOWN;
            m_text.setColor(m_colorDown);
            m_callback();
            return true;
        }

        return false;
    }

    void SetTextColors(const sf::Color upColor, const sf::Color downColor, const sf::Color hoverColor)
    {
        m_colorUp = upColor;
        m_colorHover = downColor;
        m_colorHover = hoverColor;
    }

    void SetBGColors(const sf::Color upColor, const sf::Color downColor, const sf::Color hoverColor)
    {
        m_backgroundColorUp = upColor;
        m_backgroundColorDown = downColor;
        m_backgroundColorHover = hoverColor;
    }

    void SetCallback(const CallbackFunc callback)
    {
        m_callback = callback;
    }

    const Button::STATE& GetState() const
    {
        return m_state;
    }

    void SetState(const Button::STATE newState)
    {
        m_state = newState;
    }

    void Render(sf::RenderTarget& target) const
    {
        sf::RectangleShape bg;
        bg.setPosition({m_positionAndSize.x,m_positionAndSize.y});
        bg.setSize({m_positionAndSize.width,m_positionAndSize.height});

        if(m_state == STATE::UP)
            bg.setFillColor(m_backgroundColorUp);
        else if(m_state == STATE::HOVER)
            bg.setFillColor(m_backgroundColorHover);
        else
            bg.setFillColor(m_backgroundColorDown);

        target.draw(bg);
        target.draw(m_text);
    }

private:

    sf::Text m_text;
    RectangleShape m_positionAndSize;
    sf::Color m_colorUp;
    sf::Color m_colorDown;
    sf::Color m_colorHover;
    sf::Color m_backgroundColorUp;
    sf::Color m_backgroundColorHover;
    sf::Color m_backgroundColorDown;
    CallbackFunc m_callback;
    STATE m_state;
};Code language: C++ (cpp)
That’s a bit better, but SFML has some problems correctly defining the bounds of the text. I know from experience that this is actually due to the way it uses the Glyph metrics from FreeType2. You can edit the source of SFML yourself, or submit a patch. This issue is why we’re additionally using the line-height of the text to define the height, and why the subsequent buttons are a little bit too big.
Menu Bug
You may have noticed that when one game is over, the menu no longer works to start a new one! This is a terribly embaressing bug that needs to be fixed.
To fix the bug, we first need to work out what the problem is. If you step through the logic yourself, you’ll find that the PongGame, when handed back control after the Play button is pressed, still has the score from the previous game. Then, in the Update method, it exits back to the main menu! Whoops!
This is easy to fix in a real… inelegant way. In PongGame::Update change the relevant MENU exit code to this:
if(m_playerOneScore >= m_maxScore || m_playerTwoScore >= m_maxScore)
{
    m_playerOneScore = 0;
    m_playerTwoScore = 0;
    return GAME_STATE::MENU;
}Code language: C++ (cpp)
Alright that’s done.
Bounded Paddle Movement
We kept the ball in bounds, but we didn’t keep the paddles in. The players can drift off into the nether’s of the computer. Again, it’s super easy to fix. In the same way that we check the position of the ball, we can just limit the minimum paddle y-pos to the top of the court, and the max to the bottom.
I’ll leave this as an exercise for you.
And that’s it. You’ve got a much better version of Pong! But there’s now some new things that you can add yourself. This is where we’re going to customize this version of Pong a little, and really complete the game.
Complete Your Game
I really cannot stress just how important it is that you complete your game. And complete means you add menu’s, options, sounds, bells & whistles etc.
There is a big difference between someone who made a game and someone who completed a game. I haven’t said shipped a game because we’re nowhere near that level, but you have to complete a game to ship it, and that’s always what you should push to do.
A grind exists in game development as much as any other development. After the initial prototype, which we completed in Part 1 of this series, every extra little thing you add or fix is a little less exciting. By the time you get to adding the finishing touches, you’re often bored and tired and not at all excited by your game. But you must complete the game. Then you post it in a forum and maybe no one plays it. Let me know though, I’ll play it.
Sound Effects
What’s Pong without the telltale bloop sound when the ball bounces?
I’ll leave it up to you to source a suitable sound. The real trick is where to play it.
In a more complicated game, it would probably be a good idea to implement a messaging system so that we can broadcast the fact that the ball bounced. Our sound-manager-type class could listen/subscribe to these messages and play the sound when that happens.
But for our relatively simple game, you can add the sound playing directly to PongGame. Obviously you’ll need to rely on your chosen library’s constructs, but generally you’ll add the sound resource to PongGame and have it play once every time you detect a bounce. If there’s rapid bounces, as in the sound effect doesn’t stop before it needs to start again, you can restart the sound from the beginning.
Again, in a more complicated game you might overlay the same sound repeatedly, but we don’t need to do that.
Music
I’ve written an article here on quickly and easily creating chip-tune style music using free or open-source software. I suggest you take a look and have a go, you’ll be surprised how easy it is to add your music. You can of course download a free music track from somewhere, but it’s more… genuine I think, if you add your own.
Options Menu
With sound comes the need for an options menu. Players need to be able to turn the music off, or the bounce sound, and they need to be able to adjust the volume.
While we’re putting in an Options Menu, you’d also want to give the players the ability to change the score needed to win the game.
All of these options can be done with a Slider instead of a button. So you’ll need to create a new UI element, the Slider. These are far more complicated than the button we had before. It is a button on the little track, but it’s dragged along and has limits. The track that it runs on has a minimum value at one end and a maximum value at the other, so you’ll need to interpolate between those values based on how far along the track the player has moved the slider.
Game Over Screen
Right now, when the max score is reached, we go straight back to the menu screen. A Game Over screen needs to be added. You need to reflect the final score and congratulate the winning player.
Of course, this means you need to add a new state somewhere in the game. There’s two sensible places.
You can add it to the overall game’s state, somewhere in between IN_GAME and MENU so that when the game exits, it returns a GAME_OVER value instead of the current MENU. Of course, this means that you need to work out a different place to change the scores back to zero and you need to give the GAME_OVER state the scores, and implement a new class like PongGameOver to sit alongside the PongMenu and PongGame.
The other place you can add it is in the PongGame states. So that it can just draw the last positions of the game, even ignore input in this final state, and not return MENU until the spacebar has been pressed.
Personally, I would go for the second option.
With the above implemented you will have completed your game.
Post in the comments and let me know! Link me to it, I would love to play.
But it’s not enough now to just complete it. You need to make it your own. Here’s a list of additional things you can add to your game to really make it something special. I strongly suggest you implement one or two of these, or a couple of your own ideas. It will give you a lot of motivation.
Faster Bounce Sound
Every time the players return the ball, it gets a little faster. So adjust the bounce sound a little bit every time it’s hit. Basically, you can increase the pitch a small fraction each time. That higher and higher pitched bounce sound will really reflect the fact that the ball is getting faster and will genuinely add a new sense of urgency to the gameplay.
Variant Serving Rules
You can implement different ways to serve the ball alongside the changes in how the score is kept. Best out of 5 serves each etc. There’s lots of different ways to change these rules. Implementing them will likely mean you need to create some kind of Rules struct which gets set in the PongMenu and then passed into the PongGame every new game.
Change the way it bounces
I’ve personally implemented a networked multiplayer Pong in which the players used the mouse to move their paddle up and down. With this quick responsive movement I was able to implement spin and rotational velocity to the ball. I then added a certain amount of friction to the top and bottom of the court.
It really changed the game because now players, depending on their skill, could use their paddle movement to spin the ball and make it curve along in play. This really made it something special.
One, Three, and Four Player Pong
You can add players to the top and bottom in a square table. Might get a little crowded on a keyboard, but that in itself can be fun to do.
One player pong is interesting though isn’t it? You could play against a wall. Or a computer opponent…
AI Opponent
This one will require that the A.I. basically matches it’s position to the ball’s position. You can have it respond quicker or faster based on a slider of A.I. difficulty. Another thing to add to the options menu.
Don’t forget that the A.I player will need to think about making the ball bounce at an angle, not just directly back.
Another way to handle the A.I. is have it predict where it needs to be positioned. Based on the A.I. difficulty it can be more or less accurate, which will result in a much more realistic feeling opponent because it won’t keep pace with the ball anymore, but go to where it thinks it needs to be, like a real player.
Power-ups
This is the ultimate way to make it your version of Pong. Power-ups can be placed randomly on the court, and the player that hits the ball onto them gets the benefit. Some ideas:
- Magnetic Paddle makes the ball come toward the players paddle for a set amount of time, almost guaranteeing that they will hit it back
- Hot Shot means the next time the player hits the ball it will be at a higher velocity. Better hope the other player doesn’t return it or you’ll need to contend with the fast ball.
- Swamp Paddle makes your paddle move slower than normal, you don’t want this one!
I really do hope that this series of articles has been useful for you. It would bring me endless joy to know about your Pong game and to play it, so please let me know.
I’m not infallible, so if you’ve noticed any mistakes or I’ve written anything that isn’t clear, leave a comment so I know to fix it up and make it better for the next person to read it.


